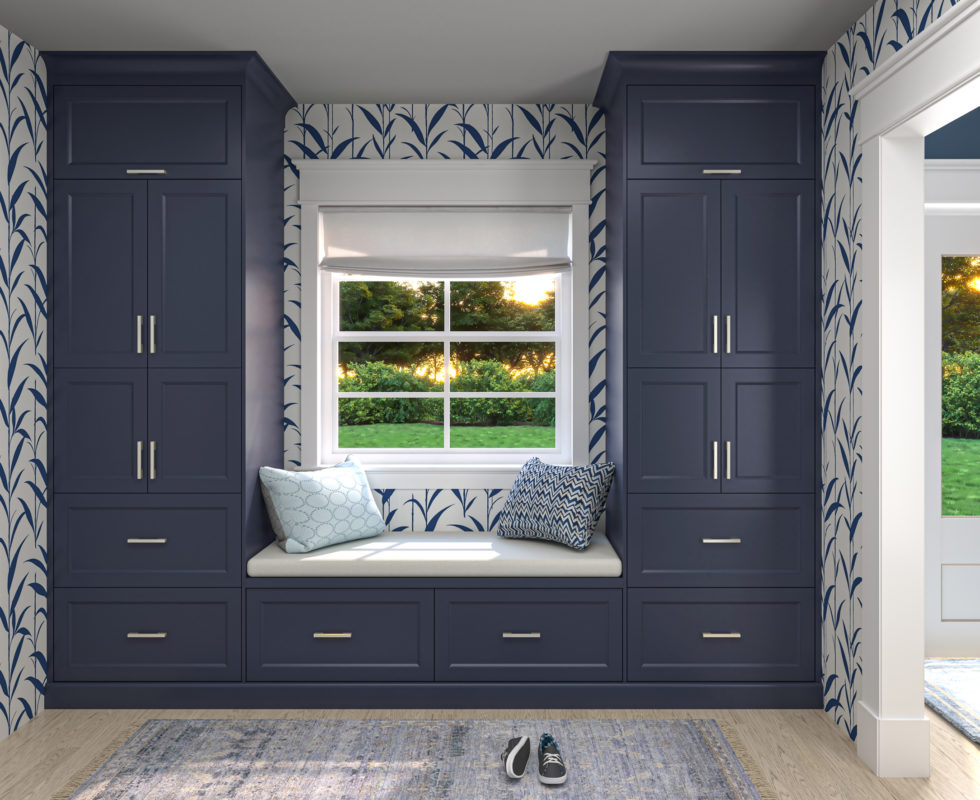
Transform Your Space: DIY Window Seat Project with Cabinets
We’re excited to share a fantastic DIY project that will transform your living space: a cozy window seat using just a few cabinets! Window seats not only add charm and character to a room but also provide a comfortable spot to relax, read, or simply enjoy the view. In this guide, we’ll walk you through the step-by-step process of creating your very own window seat using cabinets, bringing style and functionality to any room in your home.

MagickHome Camellia Door Style
Materials Needed: Before we dive into the construction process, let’s gather the materials you’ll need for this project:
- Base cabinets
- Plywood or MDF for the seat
- Cushion foam
- Fabric for the cushion cover
- Wood screws
- L-brackets
- Wood glue
- Paint or stain (optional)
- Tools: Screwdriver or drill, saw, measuring tape, sandpaper, staple gun
Step-by-Step Guide:
1. Measure and Plan: Begin by measuring the width and height of your window, as well as determining the desired depth of your seat. With these measurements in hand, sketch out your design and calculate the dimensions needed for your cabinets and seat.

2. Select Cabinets: Order base cabinets that match your measurements. (Browse some great options here!) Consider doors or drawers depending on your storage preferences.
3. Install the Cabinets: Follow the manufacturer’s instructions to install the cabinets, ensuring they are level and securely attached to one another.
4. Cut Seat: Measure and cut a piece of plywood or MDF to fit the top of the cabinets, serving as your seat. Sand the edges smooth for a professional finish.

5. Attach Seat: Place the seat on top of the cabinets and secure it using wood screws.
6. Finish: Sand any rough edges and apply paint or stain to the cabinets (and seat) to match your room’s décor. Allow the finish to dry completely before proceeding.
7. Cushion: Cut a piece of foam to fit the size of your seat, then wrap it with fabric and secure it using a staple gun to create a comfortable cushion. You can also buy a premade seat cushion (try Etsy!). Place the cushion on top of the seat for a cozy finishing touch.
8. Secure Seat: For added stability, attach the seat to the cabinets using L-brackets.
9. Final Touches: Add decorative pillows or trim to the cushion to personalize your window seat and make it truly your own.

With a little creativity and some DIY know-how, you can create a beautiful and functional window seat that will enhance any room in your home. Whether you’re looking for a quiet reading nook or simply want to maximize your space, this project is sure to impress. So roll up your sleeves, gather your materials, and get ready to enjoy your newly transformed space!


